Showing posts with label diy furniture. Show all posts

Sunday, August 10, 2014

Wood Planked Coffee Table DIY


You've seen this coffee table before....

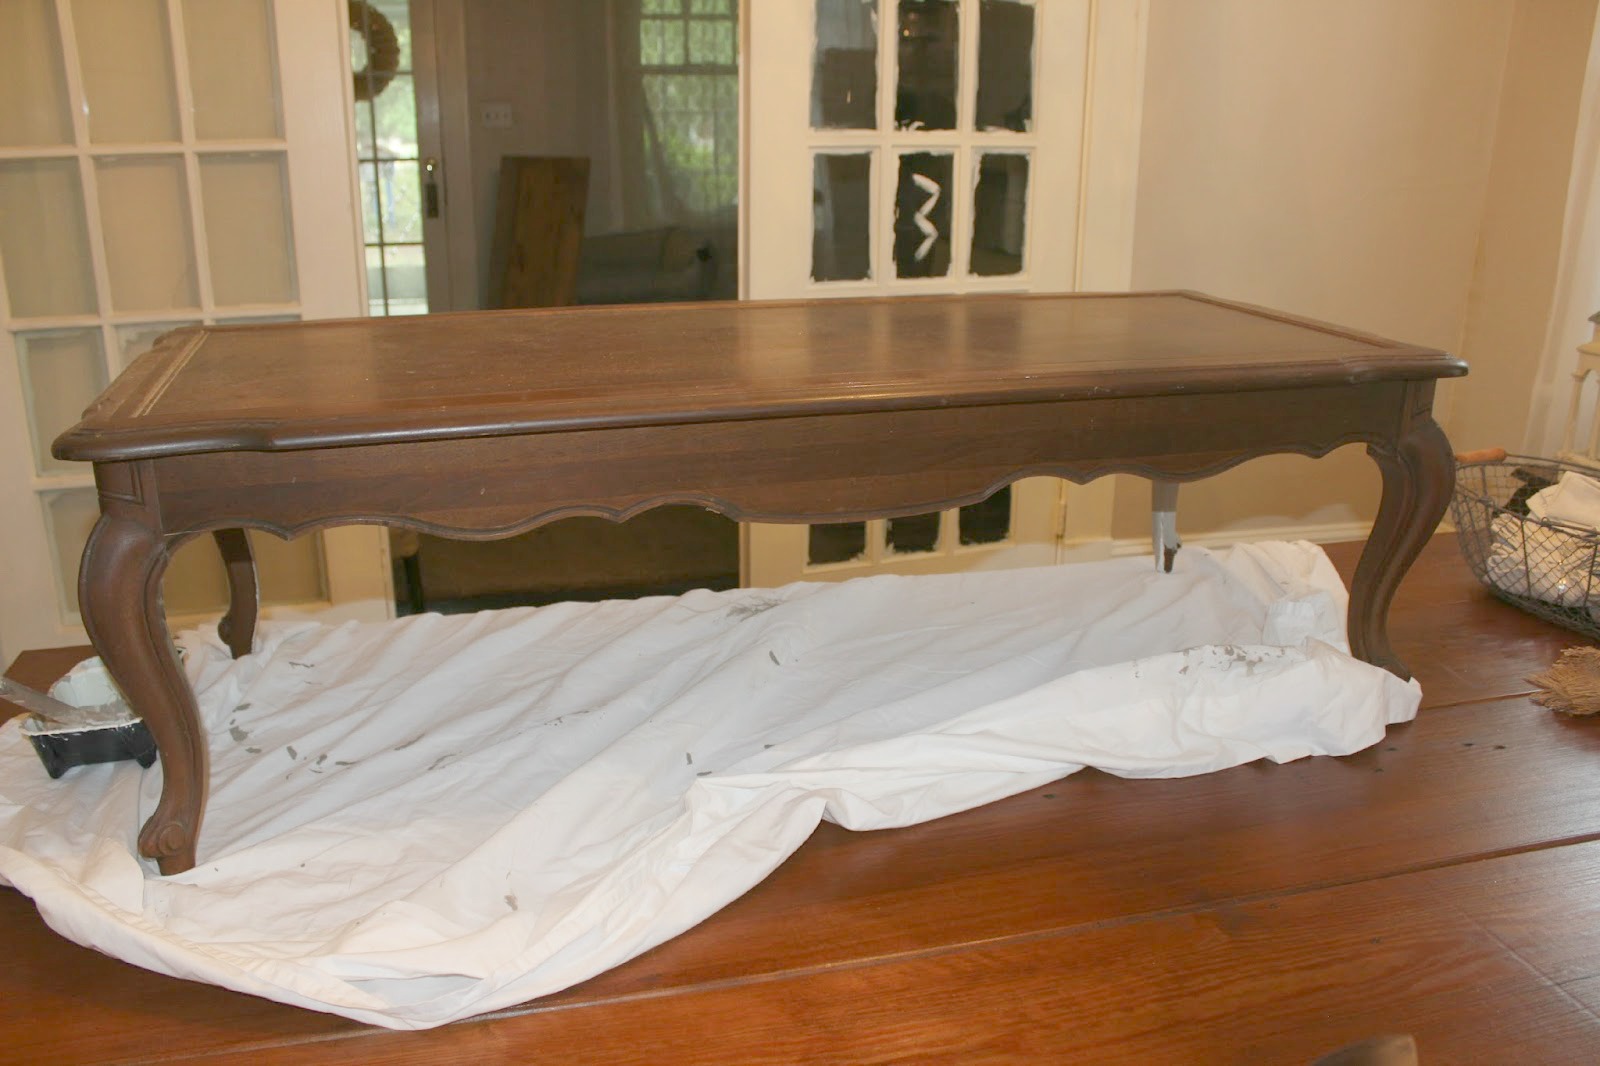
This is what it looked like originally....I rescued it from the dusty attic.


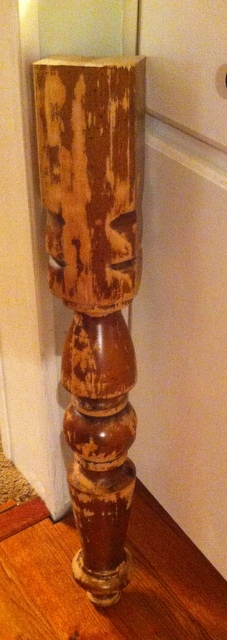
I painted the bottom with Annie Sloan Chalk Paint in Coco and added an applique a while back.....


But it still wasn't what I envisioned, so.... I added some 1x3 wood planks.

Because the top was super ugly and ruined.....I had strategically hidden the ugly truth with polish and accessories but I was finally DONE with it!


This table had been around for the last 60 years and had never seen the likes of a coaster for drink cups. Ahem, somebody was bad. It WASN'T ME! I'm a freak about coasters, just ask my family, and the above pic says WHY I am.
The 'fix' was super easy and fast, I cut the wood to fit inside the grooved area, distressed the planks with a hammer, used a nail to make worm holes and slightly rounded the sharp edges. Next I glued them down with wood glue leaving a slight gap in between them. Next I painted around the outer edge with old white chalk paint then stained the planks and went over the chalk paint with the same stain, dark walnut minwax stain plus sealer. I wiped off the stain around the outer edge and it made a distressed look.  I'll give it a coat of AS soft wax later today.


So here it is all gussied up and feelin' good!

It made a huge difference don't you think? I love the rustic feel it has now.


She's so happy and pretty now, I knew there was a beauty under all that ugly. So what'cha think?

Sharing at
Amaze Me Monday
Sundays At Home
Inspire Me Monday
Show Me What Ya Got
Tweak It Tuesday
The Scoop
Inspire Me Tuesday
Wow Us Wednesday


Saturday, February 9, 2013

Farmhouse Table Pt 3 Done!

I heart my Heart Pine Table


Remember where I started?
I found this headboard with a footboard and thought we could make the legs for the table from the bedposts.

If you've been following along with the making of my farmhouse table you'll finally see the end product!
If you missed any of my posts you can find Part 1 HERE and Part 2 HERE
So after attaching the legs to the apron we reinforced everything with cross members and gussets.


 This table is getting pretty heavy at this point. But wait til you see what we are using for the top!

 This is 200+ year old Heart Pine that had been reclaimed from 2 foot by 16 foot beams from an old barn. Old Heart Pine is just something you can't get anymore unless it's reclaimed. Sadly they just don't let the trees grow that old before chopping them down. It can only be gotten from the very center of the tree that has grown for at least 100 years to get that grain pattern. So my husband and I feel very blessed to have obtained this wood for our 'forever table'. Just look at that beautiful grain.


I took this picture from the reclaimed wood mill where we got the boards. You can see the white paint from where the beams were painted. We had to look through many boards to choose ones we felt would be good for our table then they planed them for us. Yes there are some knot holes, yes there are worm holes and old nail holes, but that's exactly what we wanted!


 Here are the boards laying on the frame. My husband cut them down to 8 feet by 10 1/2 inches and routed the edges all around . The table ends up being 8 feet long x 42 inches wide  x 30 inches high perfect to seat 10 people!


You can see in this pic that the boards are not attached yet, just laid on so I could show you.


Just look at those curvy legs! No one would ever guess they used to be part of an old antique bed. I painted the apron with MissMustardSeeds Milk Paint but I decided against painting the legs white for now and just painted the apron. I stained the legs and kind of liked the way they turned out, like they had  been around for years, which they actually have been, at least 75 years..


I plan on using Minwax Antique Oil Finish over the stain to finish the top , Once that is on it will really bring out the beauty of the wood even more. I don't want a shiny poly finish instead I want a low luster antique look to it. The top is not attached yet (that's why the boards don't look totally level), hubs can't do it until Monday.


This table now weighs a ton I can't even lift one end using all my strength lol. We're going to have four chairs on one long side, one on each end and a bench on the other long side.


This is what the table looks like after I stained it with Early American Minwax Stain. we routed the center edges of the boards too so as not to have the appearance of a completely flat top with one board running into the next if you know what I'm trying to say. I have more chairs just haven't brought them in from the shed yet.  I love how it turned out!


I plan on making a runner for the center and some chair pads. I think I might use this small runner til I get that made.

From this......

To This.......


UPDATE A Bench for the Farmhouse Table click HERE

 Not bad eh?
Have a great weekend!

Monday, February 4, 2013

Making A Farmhouse Table Part 2

We are making good progress on our Farmhouse Table, you can see Part 1  here.
Here's a pic of the legs we cut from a headboard and foot board.
We cut the end balls off and the flat part will now be the bottom of the leg.


One of the legs before painting. The legs were cut to 29 inches. There were areas to fill with wood putty where it was attached to the head and foot boards.


We used corner braces to attach the legs to the apron.


View from the other side. 


So here are the legs attached to the apron. I love how chunky the legs are, they measure 4 inches wide at the tops. The side rails are 80 inches by 3 1/2 inches wide. The end rails are 28 inches by 3 1/2 inches. There are a lot of things to think about when you're making a table, will there be enough room for the chairs, comfortable table height, apron width so as not to squish your thighs when sitting down, hoping you don't eat so much that your thighs grow thereby thwarting your carefully measured boards. Yep all sorts of things to think about.


We will be adding cross members and gussets tomorrow. This is going to be one heavy and sturdy table, that's why we are assembling it inside the house. See those chairs behind the table? I picked up six of them at Goodwill for $100, they'll be used with the farmhouse table after some sprucing up. I'll be painting the legs and apron tomorrow on Part 3.
Update....Part 3 HERE

Blessings,

Thursday, January 24, 2013

I Want a Farmhouse Table, Part 1

I've been yearning for a farmhouse table. Something like this one.
source, Houzz.com
or this one.....

source,Southern Living

I needed a table long enough to sit at least 8 people. I want it to have history and character, but the ones I've found in antique stores and fleas markets are wayyyyy out of my price range.
To be honest I wanted my husband and me to make our own. So I started searching for some legs. I wanted big legs with character, not only were they not easy to find but when I did find them they cost an arm and a leg (pun intended)   While browsing around another one of my favorite flea markets I found this awesome table. It was 8ft long, check, farmhouse look, check, big bulky legs, double check but one BIG problem.....$2000 price tag!!!!! Nope no way!


So it wasn't in the cards BUT while checking out the table I discovered that the legs were actually from the posts of a bed, yep, still had the places on it where the headboard and sides would have been attached.

That got me thinking,.....why couldn't I make mine out of bed posts too? So instead of searching for some table legs to start my table I started searching for a headboard and foot board that could be transformed into table legs.

I searched several flea markets and just couldn't find what I was looking for, the posts were either not chunky enough or they were too new looking with no character. Finally when I was about to give up I found this......
There was a headboard and a foot board. So I negotiated a price for $30. Let me tell you this is a well made bed. It's solid oak, it's as  heavy as can be and has a rolled top piece on the headboard and foot board. It's an antique for sure, made without any nails glue or screws, everything is made using a mortise and tenon technique.  
We brought it home and began separating the posts from the head and foot boards. Once that was acomplished we had to address the posts  legs. First we had to remove the ball part, actually the top of the bed posts that would soon become the bottom of the table legs.
Then we took them to the table saw and cut them to exactly 29 inches.

Here is one of the legs ready to be painted, stained or whatever I decide to do to it.

I love it!!! It's chunky, measuring 4" in diameter and they have lots of character and history. Yep love 'em! And don't worry about what remained of that headboard and foot board, I have plans for them.
Next the table top, it needs to meet the same criteria, old, character and farmhouse to the max. Stay tuned for part 2, you are gonna love what we found!
Update.....Part 2


Sharing at.........
Kim's Wow Us Wednesday
Fabulously Creative Friday
Sunny Simple Sunday
Knick of Time Tuesday
Tweak It Tuesday
TERESA 

LinkWithin

Related Posts Plugin for WordPress, Blogger...